How to Install A Curbside Mailbox Post System

Curbside mailbox installation is the most common residential mailbox project, and one of the more approachable DIY jobs a homeowner can take on. Still, questions pile up fast: How deep does the post go? Do you need concrete? What height does USPS actually require?
This guide covers everything: USPS placement rules, a full tools and materials checklist, two proven installation methods, a no-concrete alternative, and pro tips from the team at MailboxWorks. If you need help with wall mount mailbox installation or residential mail slots instead, we have dedicated guides for both.

USPS Mailbox Installation Requirements
Before you pick up a shovel, know the rules. USPS mailbox installation requirements apply to every residential curbside setup, and your mail carrier can refuse delivery if the box doesn’t meet them.
The key USPS mailbox regulations:
- Height: The bottom of your mailbox must be 41 to 45 inches above the road surface. This puts the mail entry point at a consistent height carriers can reach from their vehicle without stepping out.
- Setback: The front of the mailbox door must sit 6 to 8 inches from the curb. On roads without a defined curb, your local postmaster can confirm the correct setback for your delivery route.
- House numbers: Your address must appear on the mailbox in digits at least one inch tall, clearly visible from the road.
- Postmaster General (PMG) standards: Mailboxes must meet USPS minimum size and construction standards. Any mailbox carrying the PMG approval stamp already satisfies these requirements.
These aren’t suggestions, they’re the baseline for USPS delivery acceptance. For new installations, or any change in mailbox type or location, confirm placement with your local post office before you break ground. Changing an approved setup without notice can result in suspended delivery.
You can find the full technical mailbox installation requirements for size and construction at the USPS Engineering specifications. For a broader look at USPS rules including cluster mailboxes and multi-unit setups, see the MailboxWorks USPS mailbox regulations guide.
Before You Start: Planning Your Mailbox Installation
Call 811 to Check for Underground Utilities
Call 811 before you dig anything. This is not optional. It’s a legal requirement in most U.S. states. Buried cables, gas lines, and water pipes run through more front yards than most homeowners expect, and a post-hole digger through one of them is a serious safety hazard.
Calling 811 is free. A utility locating crew will typically mark your yard within 48–72 hours. You can also submit a request online at call811.com. Only start your mailbox installation once you’ve received clearance.
Tools and Materials You Will Need
Having everything on-site before you start saves time and prevents mid-project trips to the hardware store.
Tools:
- Post hole digger (clamshell style): suitable for most residential soil conditions
- Shovel: for clearing loose dirt and backfilling
- Post level or 4-foot spirit level: essential for plumbing the post in both directions
- Drill with bits: for attaching the mailbox to the post
- Tape measure: for verifying final mailbox height (41–45 inches from road surface)
- Safety glasses and work gloves: required throughout digging and concrete steps
- Mixing bucket and small trowel: Engineer Method only; not needed for the Farmer Method
Materials:
- Mailbox: confirm it carries PMG approval before buying
- Mailbox post: wood or metal; see the section below on choosing the right post material for your install mailbox post setup
- Quick-setting concrete: one 60 lb. bag is sufficient for most standard residential posts
- Gravel or crushed stone: one bag, used for drainage at the base of the hole
- House number decals or plaques: USPS requires digits at least one inch tall
- Mounting hardware: typically included with the mailbox or post; confirm before ordering separately
Choose the Right Location
Place your mailbox on the same side of the street as your house number, facing the direction of approaching mail carrier traffic. The front of the mailbox door should sit 6 to 8 inches from the curb. Knowing how to install a mailbox correctly starts here: a poorly positioned box can result in delivery refusal even if the post is perfectly set.
Avoid placing the box directly in front of a driveway, where the carrier would have to stop in traffic. Also confirm nothing obstructs the carrier’s line of sight to the box from the road. If your street has no curb, mailbox post installation placement can vary by delivery route, so a quick call to your local post office before you dig will save you from having to move it later.
For more on positioning and site selection, the MailboxWorks post mount mailboxes FAQ covers common questions in detail.
Choose the Right Mailbox and Post
The mailbox and post you choose affect both the installation process and how long everything holds up. A few things to think through before buying.
Post material. Wood and metal are the two practical options for residential curbside posts. The Federal Highway Administration recommends breakaway materials for mailbox posts, meaning the post should give way on impact rather than act as a rigid obstacle. A 4×4 wood post or a standard 2-inch diameter steel pipe both meet this guideline.
Metal and aluminum posts require less prep work and hold up well in wet climates. They suit contemporary mailbox styles and are a practical choice where low maintenance matters more than customization.
Wooden mailbox posts are the most popular DIY choice. They’re easy to cut, drill, and customize, and they cost less upfront than metal alternatives. A cedar mailbox post is worth considering if aesthetics matter: cedar resists rot and insects naturally without chemical treatment, and the warm grain suits traditional and craftsman-style homes well. For any wood post going into the ground, use pressure-treated lumber rated for ground contact only. Wooden posts also require additional prep steps that metal posts do not, covered in detail in the installation section below.
Locking vs. standard. If mail theft or package security is a concern, a locking mailbox is worth considering for your next upgrade.
Ready to install a mailbox? Browse mailbox and post packages to find matched sets that remove the guesswork on hardware compatibility, or explore posts separately and pair with your preferred mailbox using our guide to choosing a residential mailbox post.
How to Install a Post-Mount Mailbox (Farmer & Engineer Methods)
Learning how to install a mailbox post correctly is the single most important part of the whole project. A well-set post keeps everything plumb, stable, and compliant for years. A poorly set one leans, shifts, and eventually fails. The steps below apply to all post-mount mailbox installations. Where the Farmer and Engineer methods diverge, each is labeled clearly.
Step 1: Dig the Post Hole
Dig to a minimum depth of 24 inches and an 8 to 10 inch diameter. The 24-inch burial depth is recommended by both USPS and the Federal Highway Administration for stability and safe mailbox post installation breakaway performance.
If you’re using a wooden post, dig 6 inches deeper, 30 inches total. That extra depth accommodates a gravel drainage bed at the bottom of the hole, which is critical for preventing rot at the base. Standing water at the base of a wooden post causes rot from the bottom up, even on pressure-treated lumber. Metal and aluminum posts do not require this extra depth, though gravel drainage is still recommended for both.
Use a clamshell post hole digger for straightforward soil. In rocky or compacted ground, a gas-powered auger is the faster option for how to set a mailbox post cleanly without exhausting yourself.
Secure the work area before digging: mark a clear perimeter, keep children and pets back, and set excavated soil well away from the hole edge so it doesn’t fall back in while you work.
Pro Tip: A power auger can be rented from most hardware stores and saves significant time on any install mailbox post job. Two people makes the process easier: one to hold the auger steady, one to manage debris.
Wear safety glasses and gloves throughout. Before you dig, re-confirm your 811 utility clearance.
Step 2: Add Gravel for Drainage
Pour 4 to 6 inches of gravel or crushed stone into the bottom of the hole. Any type of coarse rock works: drainage gravel, pea gravel, and crushed stone are all fine.
This step matters for every post type, but it’s critical for wood. Without drainage, water pools at the base of the hole and saturates the buried wood, accelerating rot from the bottom up, even on pressure-treated lumber. Concrete alone doesn’t solve this. It can actually trap moisture against the wood at the concrete-to-post junction if poured flush with or above grade.
For wooden posts specifically: Before setting the post, brush a wood preservative onto the bottom 6 inches where it will contact soil. Copper naphthenate is widely available at hardware stores and adds meaningful rot protection beyond pressure treatment alone. Let it dry fully before setting the post.
Metal and aluminum posts benefit from gravel drainage to reduce corrosion at the base, but do not require sealant treatment.
Step 3: Set the Post (Farmer Method)
The Farmer Method is the fast approach to how to install a mailbox post with concrete. It’s reliable for most standard residential installations and doesn’t require mixing concrete by hand.
- Pour water into the hole to fill roughly the bottom third, on top of the gravel bed.
- Set the post in the center of the hole.
- Pour one 60 lb. bag of dry quick-setting concrete directly into the hole, around the post. Do not pre-mix.
- Pour an additional quart of water slowly on top of the dry concrete.
- Plumb the post using a post level. Check plumb in both directions: front-to-back and side-to-side.
- Hold the post plumb, or brace it temporarily, while the concrete begins to set. Quick-set concrete firms up enough to hold the post in 20–30 minutes.
- Once the concrete is firm, pack topsoil around the base.
- Wait a full 24 hours before attaching the mailbox or applying any load to the post.
Pro Tip: Slip a rubber band around your post level and around the post to hold it in place while you check plumb with both hands free.
Wooden post note: If your post is slightly short, extend it by fastening a cut 4×4 block to the bottom using structural screws before setting. When finishing, slope the concrete slightly below grade and cover with topsoil so the concrete-to-wood junction is not exposed to standing rainwater. That junction is where rot most often starts.
Cold weather note: If the temperature is below 45°F, allow an additional two hours of curing time per degree under 45. At 35°F, plan for at least an extra 20 hours before loading the post.
Step 4: Set the Post (Engineer Method)
The Engineer Method is the precise approach to mailbox post installation. It takes longer but produces a more finished result with a smoother surface around the base. Use it if you want a polished look or if your soil conditions are variable.
- Set the post in the hole before pouring any concrete, using temporary guy ropes or braced stakes to hold it roughly plumb.
- Mix the concrete in a bucket to a chunky peanut butter consistency. It should hold its shape but not be dry or crumbly.
- Pour 6 inches of mixed concrete into the hole around the post. Tamp it down with a stick or rod to eliminate air pockets.
- Wait 25–30 minutes for the first layer to begin firming up.
- Check plumb carefully in both directions and adjust as needed while the concrete is still workable. This is the key advantage of how to set a mailbox post using the Engineer Method: you have a window to correct alignment before the concrete locks.
- Pour and tamp the remaining concrete in layers until the hole is full, finishing about 1 inch below grade.
- Use a trowel to slope the top surface slightly away from the post so water drains outward.
- Allow to cure for a full 24–48 hours before attaching the mailbox.
Temperature and curing: Concrete cures through a chemical reaction that slows significantly in cold weather. If the temperature is below 45°F, add two hours of curing time for every degree under 45. At 40°F, add 10 hours. At 35°F, add 20 hours. In freezing conditions, cover the base with an insulating blanket and avoid pouring until temperatures rise above 40°F if possible.
Alternative: Installing a Mailbox Post Without Concrete
The gravel-and-backfill method is a practical way to install a mailbox post without concrete, and it works well for renters, temporary installations, or locations with a high water table where drainage is a real concern.
- Dig the hole to standard depth (24 inches minimum; 30 inches for wood).
- Add the gravel base as described in Step 2.
- Set the post and fill the hole in alternating layers: 4 inches of gravel, then 4 inches of compacted soil, then 4 inches of gravel, and so on.
- Tamp each layer firmly before adding the next. A 2×4 scrap works well for tamping.
- Brace with two diagonal stakes for the first 48 hours while the layers compact.
This method is less durable than concrete in loose or sandy soil, but it’s much easier to remove when the post eventually needs replacing.
For wooden posts, there’s a real case for this approach. When a wooden post rots, pulling it out of concrete requires significant effort. An all-gravel fill lets you remove and replace the post without breaking out concrete. It also avoids the moisture-trapping effect of a concrete collar directly against wood. The trade-off is stability: in high-traffic or windy areas, concrete-set posts hold firmer over time.
Step 5: Attach the Mailbox to the Post
Wait for the concrete to fully cure before you install a mailbox onto the post: at least 24 hours for quick-set, 48 hours for hand-mixed. Don’t rush this step. A post that shifts during mailbox attachment will be visibly off-plumb once the concrete locks.
- Follow the manufacturer’s instructions for your specific mailbox and post combination. Most residential mailboxes attach with four bolts through a mounting plate.
- Use a mounting bracket if the mailbox base doesn’t match the post dimensions.
- Position the mailbox so the door faces the street and opens freely without obstruction.
- Measure final height: the bottom of the mailbox should sit 41 to 45 inches above the road surface, not above the ground at the base of the post. Use the road surface as your reference point.
- Tighten all hardware and open and close the door and flag to confirm everything moves freely.
Knowing how to install a mailbox correctly means getting the height right at this final step. A box set even a few inches outside the 41–45 inch range can result in delivery refusal.
For matched mailbox and post combinations that simplify this step, see Mailbox with Post packages.
How to Replace a Mailbox on an Existing Post
Knowing how to replace a mailbox on a post that’s still in good condition turns a potentially full installation job into a 30-minute task.
First, check the post. Grab it at the top and apply firm sideways pressure. If it flexes, leans, or shows visible rot at the base, the post needs to come out and go in fresh. Refer to the full installation steps above.
If the post is stable, here’s how to install a mailbox on an existing post: first, confirm the new mailbox is compatible with the existing post. Mounting hole patterns, post widths, and bracket systems vary by manufacturer, and not all mailboxes fit all posts. Check the new mailbox’s installation specs against your post dimensions before buying. If they’re not compatible, a mounting adapter bracket can often bridge the gap.
Once compatibility is confirmed, remove the old mailbox by unscrewing the mounting bolts from the bottom of the box or through the post plate. Clean any rust or debris from the top of the post before mounting the new box. Align the new mailbox’s mounting holes with the post, drill pilot holes if needed, and bolt it down.
Verify height (41–45 inches from road surface) and confirm the door opens toward the street. If the new mailbox has different dimensions than the old one, the height may need adjustment.
For decorative post-mount mailboxes that don’t require a full post replacement, browse our full selection.
Other Types of Mailbox Installation
Not every home uses a curbside post. Walk-up properties, including attached homes, townhouses, and apartments with direct street access, typically use wall-mounted mailboxes where the carrier delivers to the door. If you need to know how to install a wall mount mailbox, MailboxWorks has a dedicated guide for that: wall mount mailbox installation. You can also browse wall mount mailboxes directly in the catalog.
Homes with interior delivery use mail slots instead. See the MailboxWorks guide to residential mail slots for sizing, installation, and product options.
How Much Does It Cost to Install a Mailbox?
The mailbox installation cost for a standard DIY curbside setup is affordable for most homeowners. Here’s what to budget:
| Item | Estimated Cost |
| Mailbox | $20–$300+ (depending on style and material) |
| Mailbox post | $15–$150+ (wood vs. metal; decorative vs. standard) |
| Quick-setting concrete (60 lb. bag) | $5–$10 |
| Gravel (one bag) | $5–$8 |
| Tools (if not already owned) | $20–$50 |
| DIY Total | $65–$520+ |
| Professional installation (labor) | $100–$300+ |
| Professional Total | $165–$820+ |
Most standard DIY installations land between $80 and $200 for materials when using a basic mailbox and wood post.
How much does it cost to install a mailbox professionally? Expect $100–$300 in labor on top of materials. Hiring a pro makes sense when the installation involves masonry work (brick or stone columns), a surface-mount on an existing concrete pad, multiple mailbox setups for a multi-unit property, or any scenario requiring specialized tools or permits. For a standard curbside post on a residential lot, DIY is well within reach for anyone with basic tool familiarity.
Common Mailbox Installation Mistakes to Avoid
Even a straightforward mailbox installation goes wrong when these steps get skipped.
Skipping the gravel drainage layer. This is the most common cause of premature post rot and corrosion. Gravel at the base of the hole is not optional for any post type.
Not calling 811. Even a routine post-hole dig can hit a buried utility line. It’s a free call that takes 48–72 hours to process. No reason to skip it.
Setting the post too shallow. Less than 24 inches means the post will rock and lean over time, especially in freeze-thaw climates. Wood posts need 30 inches to allow for the gravel bed.
Not checking plumb in both directions. A post that’s level front-to-back but off side-to-side will produce a visibly crooked install mailbox post result. Check both axes before the concrete sets.
Using dangerous post materials. Heavy metal pipes filled with concrete or rigid steel posts embedded in solid concrete columns are flagged by the Federal Highway Administration as unsafe mailbox support structures. They don’t break away on vehicle impact. Stick with a standard 4×4 wood post or a 2-inch diameter steel pipe.
Ignoring USPS height requirements. The correct mailbox installation height is 41 to 45 inches from the road surface to the bottom of the mailbox.
Attaching the mailbox before the concrete cures. Setting the mailbox on a post that hasn’t fully cured can shift the post and permanently affect plumb. Wait the full 24 hours minimum.
Wood post-specific mistakes:
- Using standard pressure-treated lumber instead of lumber rated specifically for ground contact. There are different treatment levels and not all pressure-treated wood is suitable for burial.
- Skipping wood preservative on the buried section
- Pouring concrete flush with or above grade, which creates a collar that traps water against the wood at exactly the point most prone to rot
- Using interior-grade lumber, cedar boards intended for above-ground use, or any untreated wood
Mailbox Maintenance Tips
A well-installed mailbox should last years with minimal upkeep. Twice a year, in spring and fall, run through a quick inspection:
- Check post stability. Grab the post at the top and apply lateral pressure. Any movement means the base is compromised.
- Tighten all hardware. Mounting bolts and flag brackets work loose with daily use and temperature cycling.
- Inspect for rust or rot. Surface rust on a metal box can be sanded and touched up. Rot at the base of a wooden post means the post needs full replacement.
- Verify house numbers are visible. Faded numbers are a common reason for mailbox installation delivery issues.
- Test the door and flag. Both should move freely with no binding or catching.
After a harsh winter, check that frost heave hasn’t shifted the post out of plumb. If the mailbox door is cracked, the finish is peeling, or the box is visibly dented beyond repair, replacement is the better call over patching.For replacement components including hinges, flags, mounting hardware, and door latches, see replacement mailbox parts.
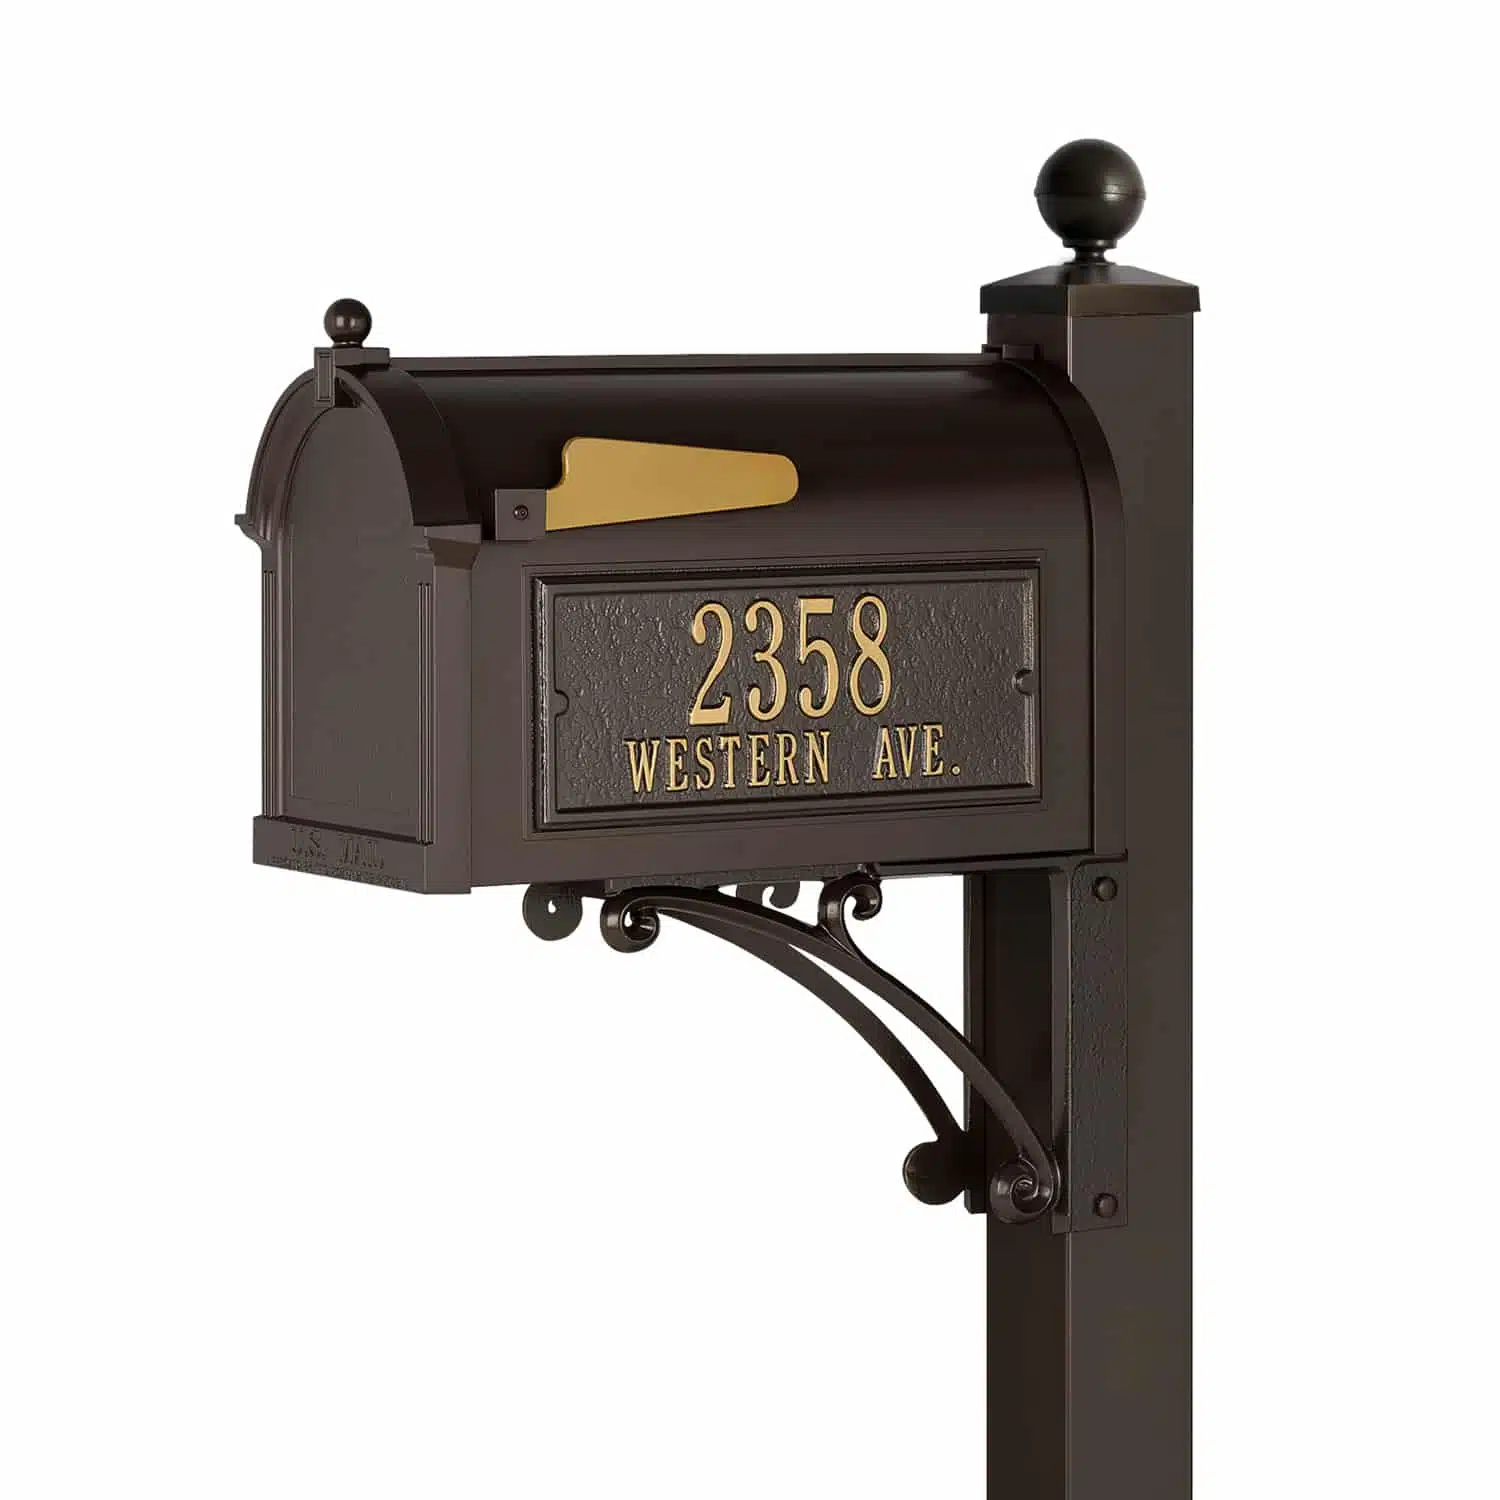
WhitehallWhitehall Custom Capitol Mailbox and Post Package (Optional Post & Accessories)
5 Available Colors
Tags: Post Mount Mailboxes
Categorized in: Mailbox Installation & Upgrades