How to Install A Curbside Mailbox Post System

 In this post, we’ll look at how to install a curbside mailbox.
Your curbside mailbox does more than collect your letters and packages; it’s a reflection of your home’s character and your personal style. Recognizing the significance of this first impression, we’re here to guide you through the seamless installation of your residential post-mount mailbox.
Curbside Mailbox Installation Instructions
We want to help you understand how to install a curbside mailbox post. Here are the primary steps you should take before digging the mailbox post hole:
Step 1: Contact your local Post Office
The United States Postal Service (USPS) can outline the proper mailbox placement rules and measurements. Ask them for a mailbox mounting height and a mailbox distance from the road or curb. The typical post-mount mailbox height is normally between 40” to 44” above the ground. The typical mailbox setback is normally between 6” to 8” from the curb. Be sure to contact your local post office as mailbox placement regulations do vary throughout the United States. For more info, visit this USPS mailbox installation page.
Step 2: Before you dig
Be sure to speak with your local utility locating service. The last thing you want to do is accidentally dig through your cable line!
Step 3: Wear protection
Be sure to wear proper protective eyewear and gloves during your mailbox installation. Secure the digging area so no child or adult is endangered by an unprotected, open hole in the ground.
Step 4: How deep should the hole be for the mailbox post?
Dig an 8” to 10” diameter hole for the mailbox post installation. Dig at least two feet deep with a clamshell digger. Or you can rent a gas-powered post-hole digger (auger) from a local equipment rental yard or hardware store.
Wooden Mailbox Posts
Add six inches to the hole depth if you want to install a curbside mailbox using a wooden post. This will allow you to fill the bottom six inches of the hole with drainage rocks. Any type of rock is fine. Placing rocks in the bottom of the post hole allows water to drain away from the bottom of the mailbox post, lowering post rot chances.
Once you have located the spot where you will install your post-mount residential mailbox, there are two different yet equally effective approaches to completing your mailbox post installation:
- The Farmer Method
- The Engineer Method

How to Install A Curbside Mailbox – Farmer Method
One of the most common ways to install a mailbox post is similar to how a farmer sets a fence post. This is the “get-er-done” approach. If you are looking for a fast and simple way to install a mailbox post or you prefer a more natural look (no visible concrete base), follow the farmer method.
- Fill the bottom third of the mailbox post hole with water.
- Set the mailbox post in the hole. If you need to lengthen your post, screw a 4×4 block of wood, cut to the length you desire, to the bottom of the post.
- Pour dry concrete mix into the hole. Most mailbox post installations require a 60 lb. bag of dry concrete. Pour a little more water on top of the concrete mix. The concrete mix in the ground will soak in both the water you poured earlier as well as the water from the top.
- Plumb (vertically level) the mailbox post using a post-level tool. This is to ensure the post is perpendicular to the ground below. Don’t forget to vertically level both the front and back sides and the right and left sides. You don’t want your post to look like it’s leaning! Pro Tip: Wrap a large rubber band around the leveling tool and mailbox post to free up your hands.
- Pack topsoil tightly around the mailbox post to hold it secure while the concrete sets.
- For the best results, wait 24 hours before mounting your residential mailbox on the mailbox post. If the outside temperature is less than 45 degrees Fahrenheit, allow the concrete to set for an additional two hours for each degree under 45 degrees.
- Finally, follow the manufacturer’s installation directions to mount your residential post-mount mailbox to the top of your mailbox post.
How to Install A Curbside Mailbox – Engineer Method
Another common approach for installing a residential post-mount mailbox is similar to the exact step-by-step methods that engineers utilize to ensure consistency. Installing a mailbox post with a concrete base is not as fast as the farmer’s approach. However, if you prefer a more finished concrete look at the base of the mailbox post, then use this installation approach.
- Set the mailbox post into the hole with the mounting end up. Be sure the front of the post is facing the same direction you want the mailbox door to be facing. If you are using a round metal pole, this may not matter. If you need to lengthen your post, screw a 4×4 block of wood, and cut to the length you desire, to the bottom of the post.
- Tie four five-foot-long, 3mm to 5mm diameter ropes or strings to the top of the mailbox post. Extend each rope out in four equidistant directions. Finally, anchor each end with a tent stake.
- Once the pole is set, pour six inches of mixed concrete into the hole. The consistency of the concrete should be similar to chunky peanut butter. Do not fill the entire hole. The idea is to get enough concrete into the hole so that the mailbox post can be plumbed (vertically leveled). Six inches is often the right amount.
- Once you get your concrete into the hole, allow the cement to set up for about 25-30 minutes.
- Plumb the mailbox post using a level tool. This ensures the post is perpendicular to the ground. Pro Tip: Wrap a rubber band around the post level tool and post to free up your hands.
- Now adjust the tension on the ropes to hold the mailbox post in the desired position.
- Once the anchor ropes have been reset, choose one of these two options:
- Fill the remainder of the hole with cement. Then use a trowel to finish the top of the cement even with the ground for a finished look.
- Fill the remainder of the mailbox post hole except for the final four inches. Then backfill the final four inches with topsoil and/or sod to mask the concrete below. Remember, this will result in a constant need to weed around the post.
- For the best results when installing a mailbox post with a concrete base, wait 24 hours before removing the ropes and tent stakes. If the outside temperature is under 45 degrees Fahrenheit, allow the concrete to set an additional two hours for each degree under 45 degrees.
- Finally, follow the manufacturer’s mailbox installation instructions to mount your residential post-mount mailbox to your post.
Whether you choose the easy Farmer Method or the more involved Engineer Method, be sure to send a photo of your completed curbside mailbox installation project to customercare@mailboxworks.com. We would love to show off your new residential post-mount mailbox in our Mailboxworks’ mailboxes photo gallery.

Mailbox Post Installation Services
The mailbox post installation methods described above are for a ground mount replacement post, where the mailbox post is buried in the ground. The Mailboxworks also offers decorative stand mount posts on some mailbox models. These are shorter posts that have a flat bottom that is bolted to a pre-poured cement base.
For more information or if you have any questions about putting in or replacing a mailbox post, please contact our mailbox experts toll-free at 1-866-717-4943 or send us an email.
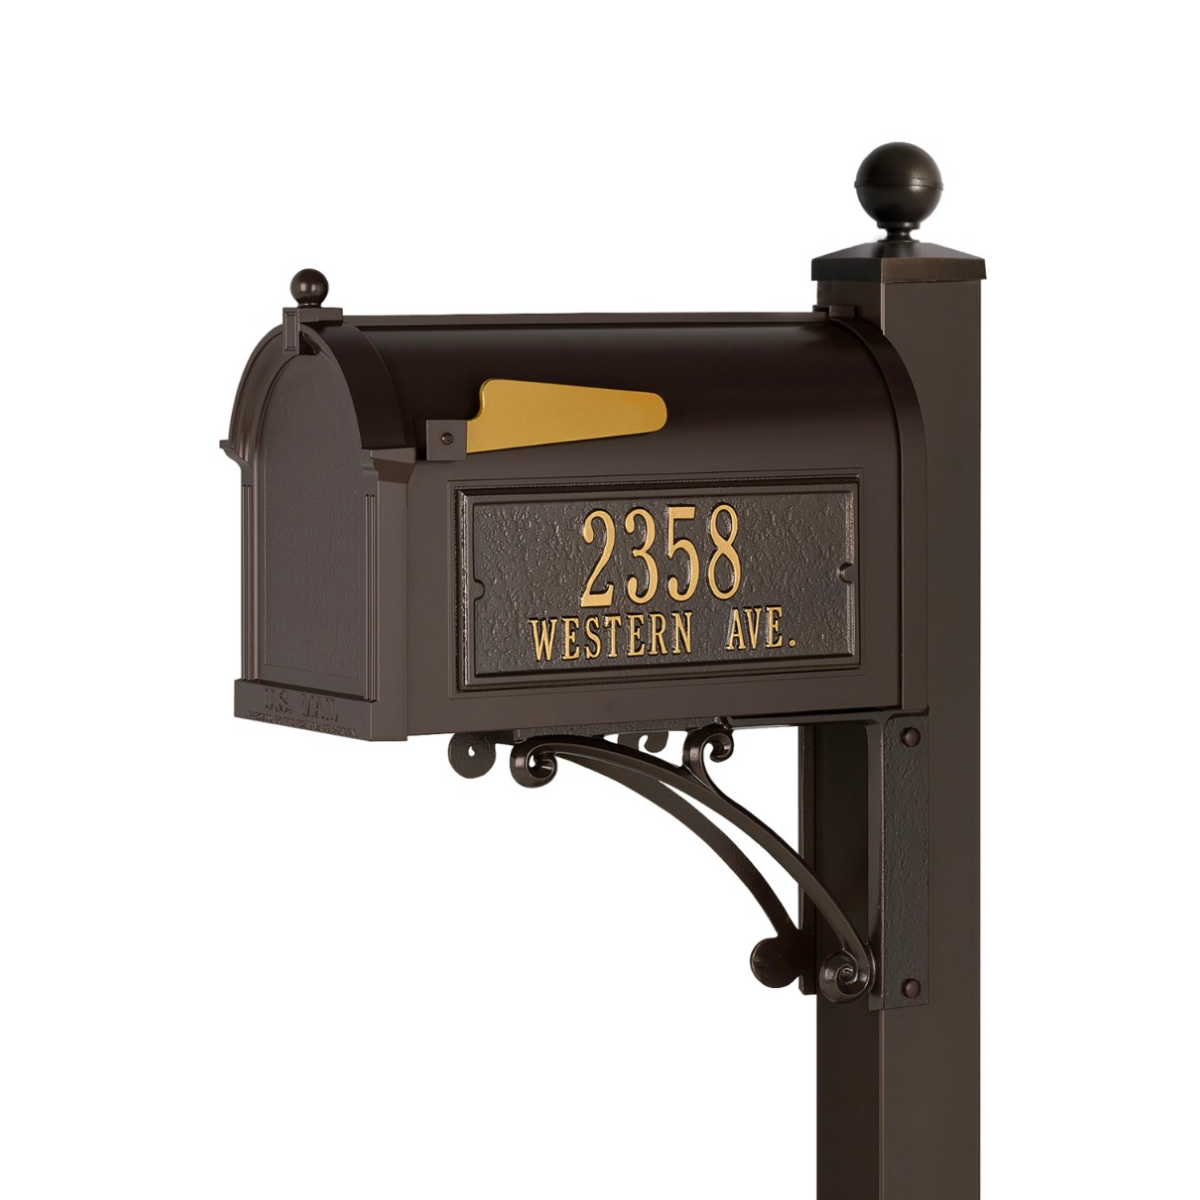
WhitehallWhitehall Custom Capitol Mailbox and Post Package for Sale (Optional Post & Accessories)
5 Available Colors
Tags: Installation & Upgrades, post mount mailboxes
Categorized in: DIY Mailbox Installation & Upgrades